
VersiFlex Heat Press Settings Guide for Best Results
Using the correct heat press settings is the key to getting great results with VersiFlex. While VersiFlex is designed to be flexible and beginner friendly, it still relies on the right balance of heat, pressure, and time. When your settings are dialed in, you will see stronger adhesion, brighter colors, and smoother finished designs on cotton, wood, canvas, and other porous materials.
This guide explains recommended VersiFlex heat press settings, how to adjust them for different materials, and how to avoid common pressing mistakes.
Why Heat Press Settings Matter with VersiFlex
VersiFlex transfers sit on top of the material rather than dyeing into it. That means pressure and temperature consistency are especially important. Too little pressure can cause faded areas or lifting edges, while too much heat can flatten texture or distort details.
Understanding how heat, time, and pressure work together helps you get reliable results across different projects.
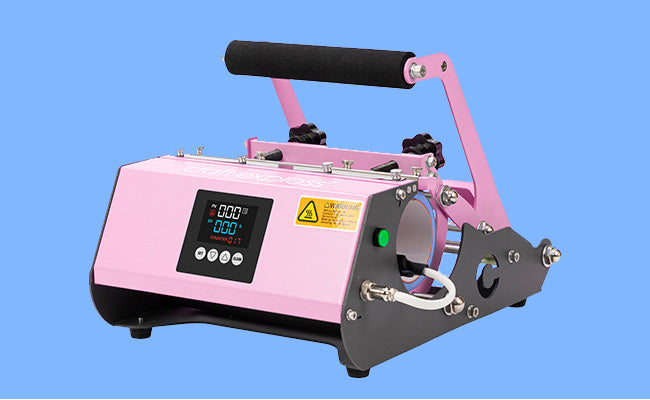
Using a quality press with adjustable pressure, like those found in Craft Express heat presses, makes it much easier to control your settings.
Recommended VersiFlex Heat Press Settings
These are general starting points. Always test on scrap material first and adjust as needed.
|
Setting |
Recommendation |
|
Temperature |
About 375°F |
|
Time |
About 30 seconds |
|
Pressure |
Firm to very high |
These settings work well for most cotton fabrics, canvas, and unfinished wood. Thicker or textured materials may require slight adjustments.
Pressure: The Most Important Setting
If there is one setting that matters most with VersiFlex, it is pressure.
VersiFlex requires firm, even pressure across the entire design. Light pressure can result in:
-
Dull or uneven color
-
Poor adhesion at the edges
-
Incomplete transfers
When closing your press, you should feel strong resistance. If your press has a pressure adjustment knob, tighten it gradually and test until results improve.
For garments with seams or layers, pressing pillows or foam pads help create a flat surface and improve pressure consistency.
Helpful accessories can be found in Craft Express heat press accessories.
Adjusting Settings by Material Type
Cotton and Cotton Blend Fabrics
Cotton is one of the easiest materials to use with VersiFlex.
Tips for cotton:
-
Pre wash garments to remove sizing
-
Pre press for 5 to 10 seconds to remove moisture
-
Use firm pressure and consistent heat
If colors appear muted, increase pressure slightly rather than increasing time.
Canvas and Fabric Blanks
Canvas bags and fabric decor items are usually thicker than shirts.
For canvas:
-
Keep temperature around 375°F
-
Maintain firm pressure
-
Make sure seams and handles are out of the pressing area
A pressing pillow helps prevent uneven pressure on thicker seams.
Unfinished Wood
Wood requires a slightly different approach.
For wood projects:
-
Use unfinished or lightly sanded wood
-
Avoid sealed or glossy surfaces
-
Use low to medium pressure at first, then adjust if needed
Wood grain and density can affect results, so testing is especially important.
Timing Tips for VersiFlex Transfers
The recommended pressing time is about 30 seconds, but timing should always work together with pressure.
If you experience:
-
Incomplete transfers, increase pressure first
-
Blurry edges, reduce pressure slightly
-
Shiny marks, check protective paper and pressure balance
Avoid over pressing. Longer times are not always better and can flatten texture or affect detail.
Using Protective Paper Correctly
Protective or blowout paper is essential when pressing VersiFlex.
Best practices:
-
Always place protective paper above and below the transfer
-
Replace paper after each press
-
Never reuse paper with visible ink residue
Fresh protective paper prevents ghosting, ink transfer, and press platen staining.
Common Heat Press Mistakes and How to Fix Them
Design looks faded
Increase pressure and confirm the press reached full temperature.
Edges lifting or peeling
Check pressure consistency and ensure the surface is flat.
Ghosting or shadow marks
Replace protective paper and avoid shifting while hot.
Uneven texture
Use pressing pillows to lift seams and layers out of the pressing area.
Most issues are pressure related and can be corrected with small adjustments.
Testing Before Final Projects
Every blank is slightly different. Before pressing a final item:
-
Test on scrap material
-
Write down settings that work
-
Adjust one variable at a time
Keeping a simple press log helps you repeat successful results and saves time.
You can explore compatible blanks in Craft Express blanks and apparel.
Final Thoughts
VersiFlex heat press settings do not have to be complicated. By starting with the recommended temperature, focusing on firm pressure, and testing on each material, you can achieve consistent, professional looking results.
Take your time, make small adjustments, and trust the process. With practice, VersiFlex becomes a reliable decorating solution for cotton apparel, fabric goods, and wood projects.
FAQ: VersiFlex Heat Press Settings
Can I use a home iron with VersiFlex?
No. VersiFlex requires the consistent heat and pressure of a heat press.
Should I increase time for thicker materials?
Increase pressure first. Adjust time only if needed after testing.
Do I need to let the transfer cool before peeling?
VersiFlex transfers are typically peeled hot using a smooth, steady motion.
Why is my press leaving marks?
Pressure may be too high or seams are interfering. Use a pressing pillow and protective paper.

Leave a comment
This site is protected by hCaptcha and the hCaptcha Privacy Policy and Terms of Service apply.