



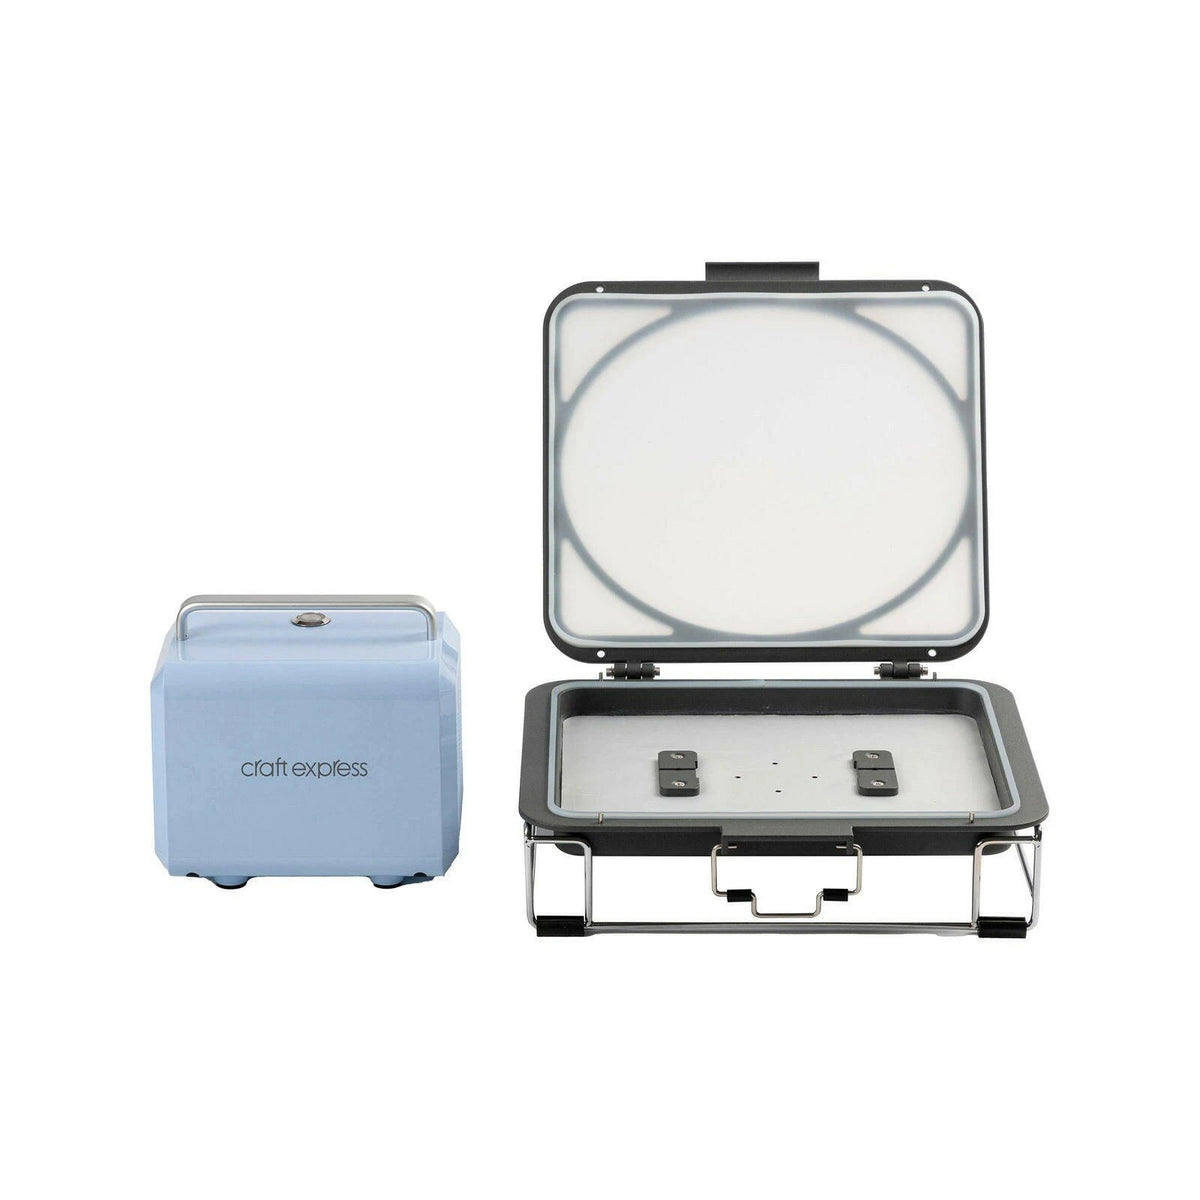
Craft Express 3D Contour Pro Sublimation Vacuum Tray Set, For Tumblers & Bottles
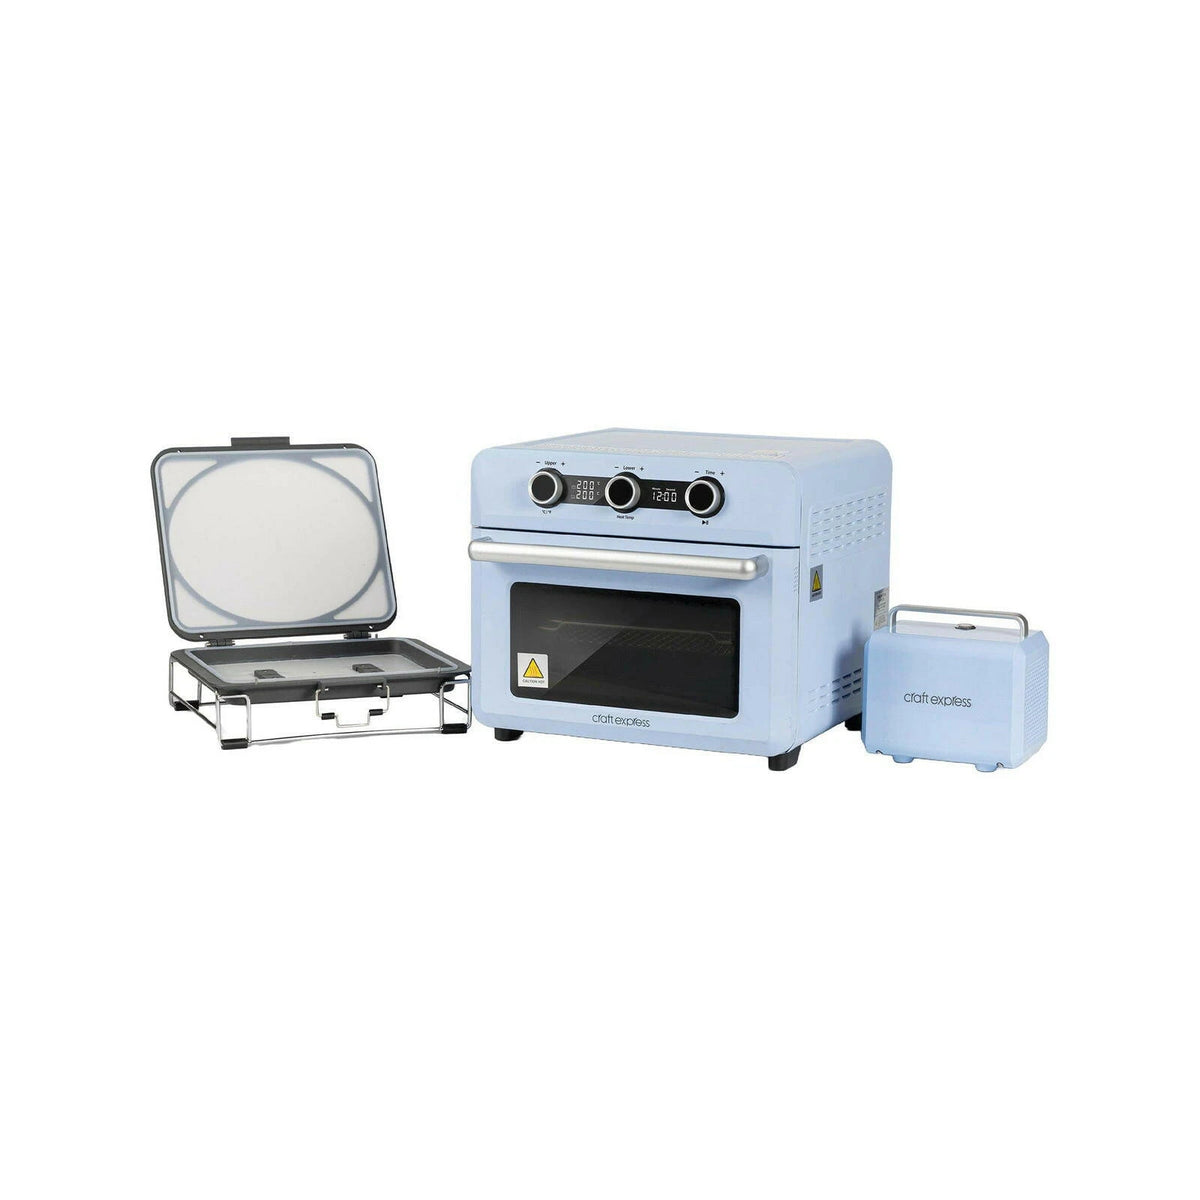
The Craft Express 3D Contour Pro Sublimation Vacuum Tray Set brings a reusable silicone tray, wire rack, and clamps to an oven-based customization workflow. Designed for suitable curved tumblers, bottles, and mugs, it offers an alternative to disposable shrink wrap when used with an approved oven, blank, and complete setup procedure.
Choose options
Description
Build your next curved-drinkware sublimation project
The Craft Express 3D Contour Pro Sublimation Vacuum Tray Set brings a reusable silicone tray, wire rack, and clamps to an oven-based customization workflow. Designed for suitable curved tumblers, bottles, and mugs, it offers an alternative to disposable shrink wrap when used with an approved oven, blank, and complete setup procedure.
Picture a personalized bottle for a teammate or a coordinated run of branded tumblers. Plan the artwork, verify the drinkware’s fit, and use the tray system to support transfer-paper contact around the curved blank.
This is an accessory set, not an oven or complete printing system. It does not make uncoated drinkware sublimation-ready. Confirm whether additional vacuum equipment is required before purchase; the available component list and instructions do not resolve that requirement.
Why choose this tray set?
- Reusable silicone tray: A flexible fixture for compatible curved sublimation blanks.
- Rack and clamps included: Components for supporting and securing the approved tray assembly.
- Oven-based workflow: Intended as an alternative to a dedicated tumbler press for suitable projects.
- Drinkware project options: Tumblers, bottles, mugs, wine cups, and flasks are named, subject to physical fit and material approval.
- Reusable alternative to shrink wrap: The listed tray workflow does not call for disposable shrink wrap; confirm all required equipment before starting.
What is included?
| Included in the listed set | Needed separately | Not established |
|---|---|---|
| Silicone vacuum tray, wire rack, and clamps | Compatible oven, sublimation-ready drinkware, printed sublimation transfer, heat-resistant tape, and heat-resistant gloves | Tray and clamp quantities; whether a pump, hoses, fittings, valves, or other vacuum components are required or included |
Specifications and fit checks
| Detail | Available information |
|---|---|
| Product | Craft Express 3D Contour Pro Sublimation Vacuum Tray Set |
| SKU | CE-KX25VPSLB-1 |
| Tray material | Heat-resistant silicone; a separate certified maximum temperature is not supplied |
| Drinkware examples | 20–40oz tumblers, bottles, mugs, wine cups, and flasks |
| Actual fit limits | Tray dimensions, blank diameter and height limits, taper allowances, handle clearance, and simultaneous loading capacity are not supplied |
| Oven reference | Craft Express Elite 25L Sublimation Oven is named in the existing description |
| Other ovens | Convection ovens are named, but exact model approval, usable clearance, airflow, and complete connection requirements must be confirmed |
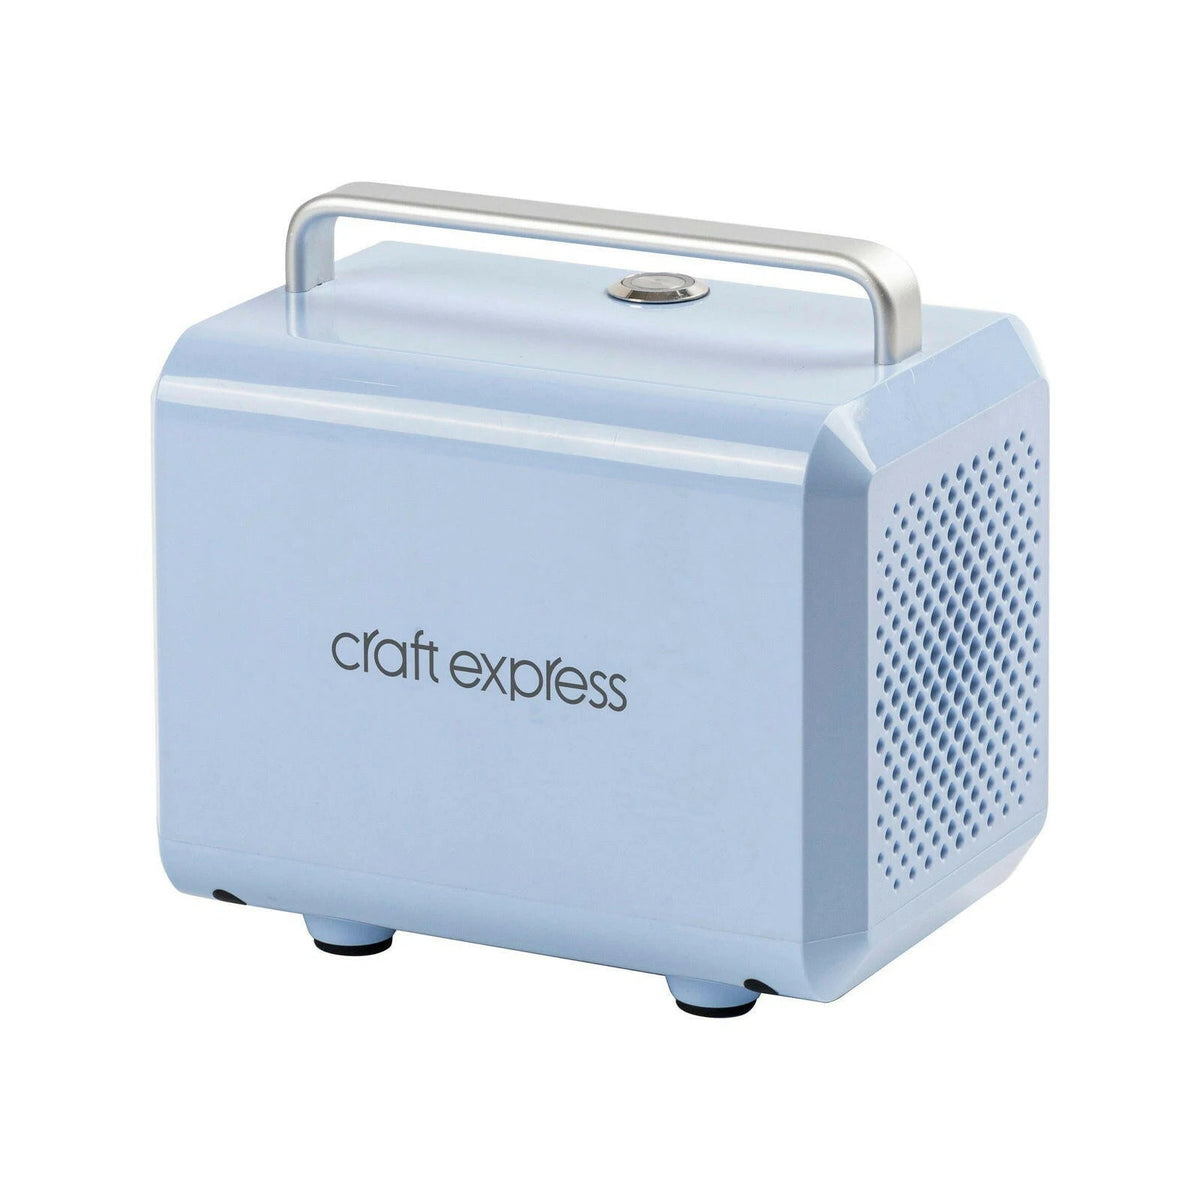
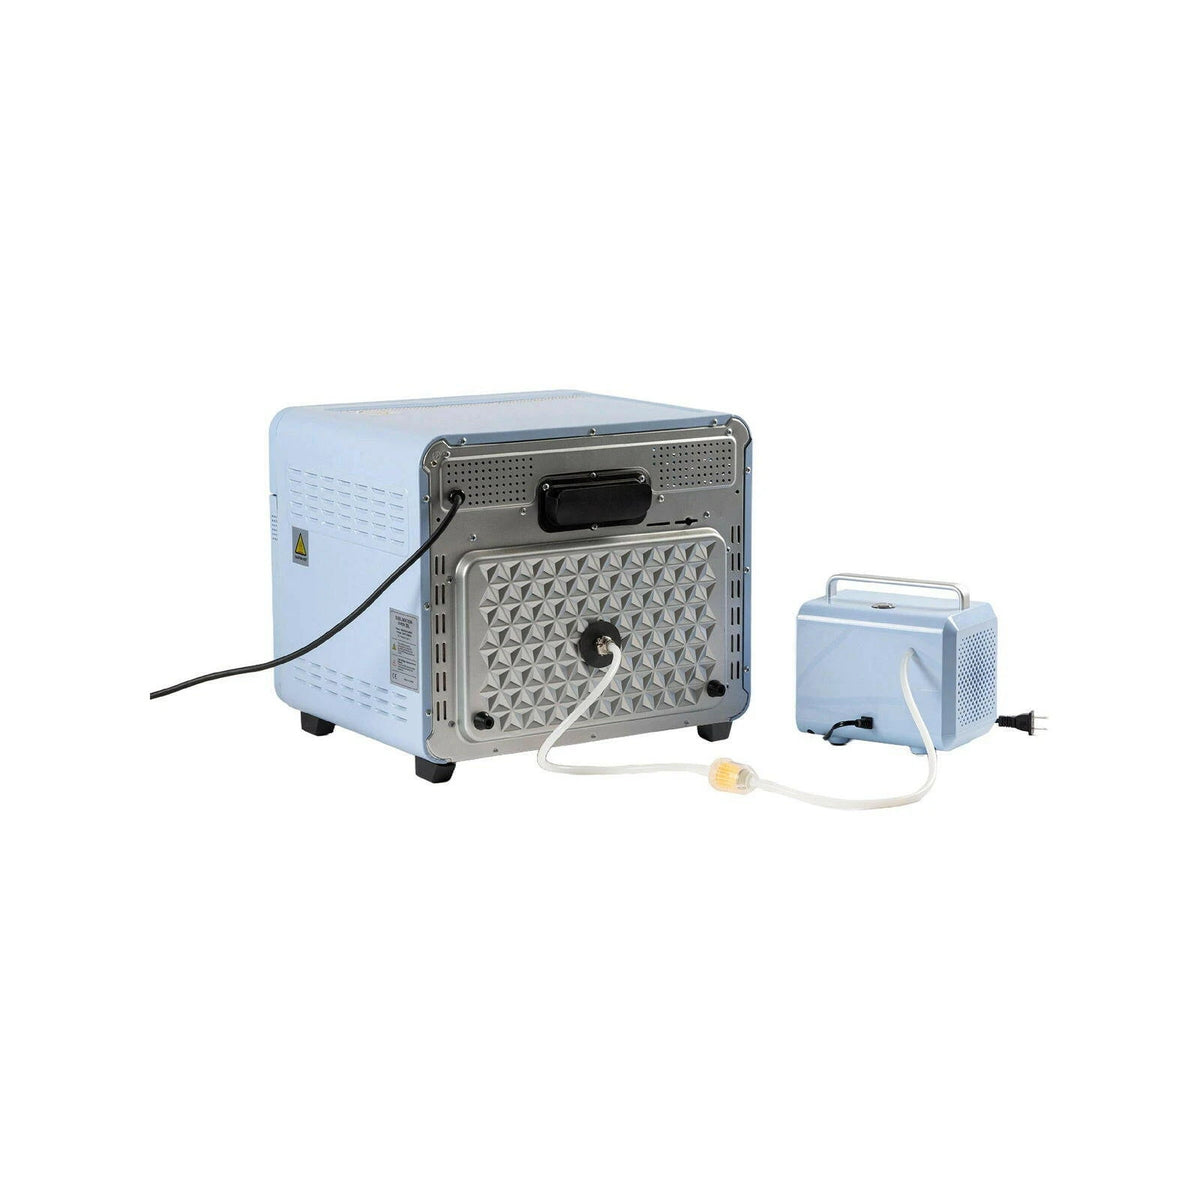
| Vacuum system | Pump requirement, connection method, operating vacuum, seal verification, and release procedure are not established |
Oven and blank compatibility guide
| Item | Requirement |
|---|---|
| Elite 25L Sublimation Oven | Named as compatible in the listing. Confirm the exact model and clearance for the tray, rack, clamps, and intended blank together |
| Other convection ovens | Temperature capability alone does not establish compatibility. Obtain approval for the complete tray assembly and operating procedure |
| Sublimation-ready tumblers and bottles | Confirm coating, heat tolerance, shape, height, diameter, and fit. A 20–40oz capacity label is not a dimensional specification |
| Mugs and handled drinkware | Confirm handle clearance, tray sealing, support, and the blank-specific oven recipe |
| Lids, straws, seals, handles, and other components | Follow the blank supplier’s component-removal requirements; the set’s instructions do not establish which accessories can be heated |
| Uncoated drinkware | Not made sublimation-ready by this tray |
| UV DTF | Older supporting fields mention UV DTF, but no validated heated UV DTF workflow is established. Do not apply the sublimation bake recipe to UV DTF film |
Listed sublimation reference
| Process detail | Listing guidance |
|---|---|
| Transfer preparation | Wrap a compatible blank with printed sublimation paper and secure with heat-resistant tape |
| Tray loading | Center the blank snugly and assemble the tray and clamps according to the correct manual |
| Oven temperature | 375–400°F |
| Time | 6–8 minutes |
| Pressure or vacuum | No numeric setting or complete evacuation procedure is supplied |
| Removal | Use heat-resistant gloves |
| Paper removal | The tray instructions say to cool completely, then peel; confirm compatibility with the exact blank and transfer-paper instructions |
These are the tray listing’s reference settings, not a universal drinkware recipe. Confirm the exact oven, tray, blank, ink, and paper combination before using them. Closing clamps alone does not establish that the required vacuum has been generated or maintained.
Prepare an oven-based sublimation project
- Obtain the complete tray manual, component inventory, and any pump or connection requirements.
- Confirm oven compatibility and measure usable clearance for the entire loaded assembly.
- Select a sublimation-ready blank approved for the process. Check its dimensions, coating, and accessory-removal instructions.
- Prepare artwork to the verified printable area and follow the ink-and-paper system’s printing and mirroring requirements.
- Align and wrap the transfer, securing it with suitable heat-resistant tape.
- Load and assemble the tray, rack, clamps, and any required vacuum components only as directed by the correct manual. Verify the seal using the approved procedure before heating.
- Run the validated oven recipe. The listing gives 375–400°F for 6–8 minutes, subject to confirmation for the complete setup.
- Remove using heat-resistant gloves and follow the approved vacuum-release, cooling, and unloading sequence. The listing directs complete cooling before paper removal.
- Inspect a test result before producing a batch.
The supporting instructions suggest halfway rotation, but do not supply a complete procedure for handling the hot assembly or maintaining any required vacuum connection. Rotate only if the correct manual explicitly directs it.
Cleaning and reuse
Once completely cool and unloaded according to the manual, wipe the silicone tray with warm water and store it flat, as directed in the listing. Separate cleaning procedures for the rack, clamps, seals, and vacuum components are not supplied. Inspect and maintain the assembly according to its manual; no guaranteed reuse count or service life is provided.
Frequently asked questions
Does this include an oven?
No oven is itemized in the set. The listed components are the silicone tray, wire rack, and clamps.
Is a vacuum pump included or required?
The available guidance does not establish that. Confirm the full vacuum-system requirements and supplied components before ordering.
Will every 20–40oz tumbler fit?
No universal fit is established. Capacity does not specify diameter, height, taper, or handle clearance.
Can I use any 25L oven?
No. A nominal oven capacity alone does not confirm usable space or system compatibility. Verify the exact model and loaded assembly.
Do I need shrink wrap?
The listed silicone-tray workflow is presented as an alternative to shrink wrap. Follow the complete approved assembly procedure rather than assuming no other equipment is needed.
What temperature and time are listed?
375–400°F for 6–8 minutes. Verify these against the exact blank and complete equipment setup before use.
Can I bake UV DTF film in this tray?
No validated heated UV DTF procedure is supplied. Do not use the sublimation bake settings for UV DTF.
Does it guarantee seamless, ghost-free prints?
No. Results depend on artwork preparation, transfer contact, fit, coating, seal, and the validated heating process.
When do I peel the sublimation paper?
The tray instructions direct complete cooling before peeling. Confirm that sequence with the blank and transfer system before starting.
Verify the fit and complete system first, then build a repeatable sublimation workflow for your next personalized drinkware project.