
Setting Up Your Printer for VersiFlex and Craft Printing Success
Setting up your printer correctly is the first and most important step to getting great results with VersiFlex and other heat transfer projects. A proper printer setup ensures accurate colors, smooth ink flow, and consistent prints that press beautifully onto cotton, wood, and other porous materials. When your printer is set up the right way from the start, you avoid wasted paper, clogged ink lines, and frustrating print issues.
This guide walks you through how to set up your printer for VersiFlex in a simple, beginner friendly way so you can print with confidence.
Why Printer Setup Matters for VersiFlex
VersiFlex printing is different from standard home printing. The inks, paper, and printer settings all work together to create a transfer that releases properly during heat pressing. If your printer is not set up correctly, you may experience:
-
Dull or inaccurate colors
-
Ink smudging or banding
-
Poor transfer adhesion
-
Inconsistent results between prints
Taking a little extra time during setup helps protect your printer and improves every project you make.
What You Need Before Setting Up Your Printer
Before you begin, gather everything you need so the setup process goes smoothly.
You will need:
-
A compatible printer dedicated to VersiFlex or craft inks
-
VersiFlex inks
-
VersiFlex transfer paper
-
A computer with design software installed
-
A clean, well ventilated workspace
It is strongly recommended to dedicate your printer to one ink type only. Never mix VersiFlex inks with sublimation or standard inkjet inks.
Step by Step: Setting Up Your Printer
Step 1: Unbox and Prepare the Printer
Remove all packaging materials, tape, and protective covers. Plug the printer into a stable power source and turn it on.
Follow the manufacturer’s on screen prompts to select language, region, and basic preferences.
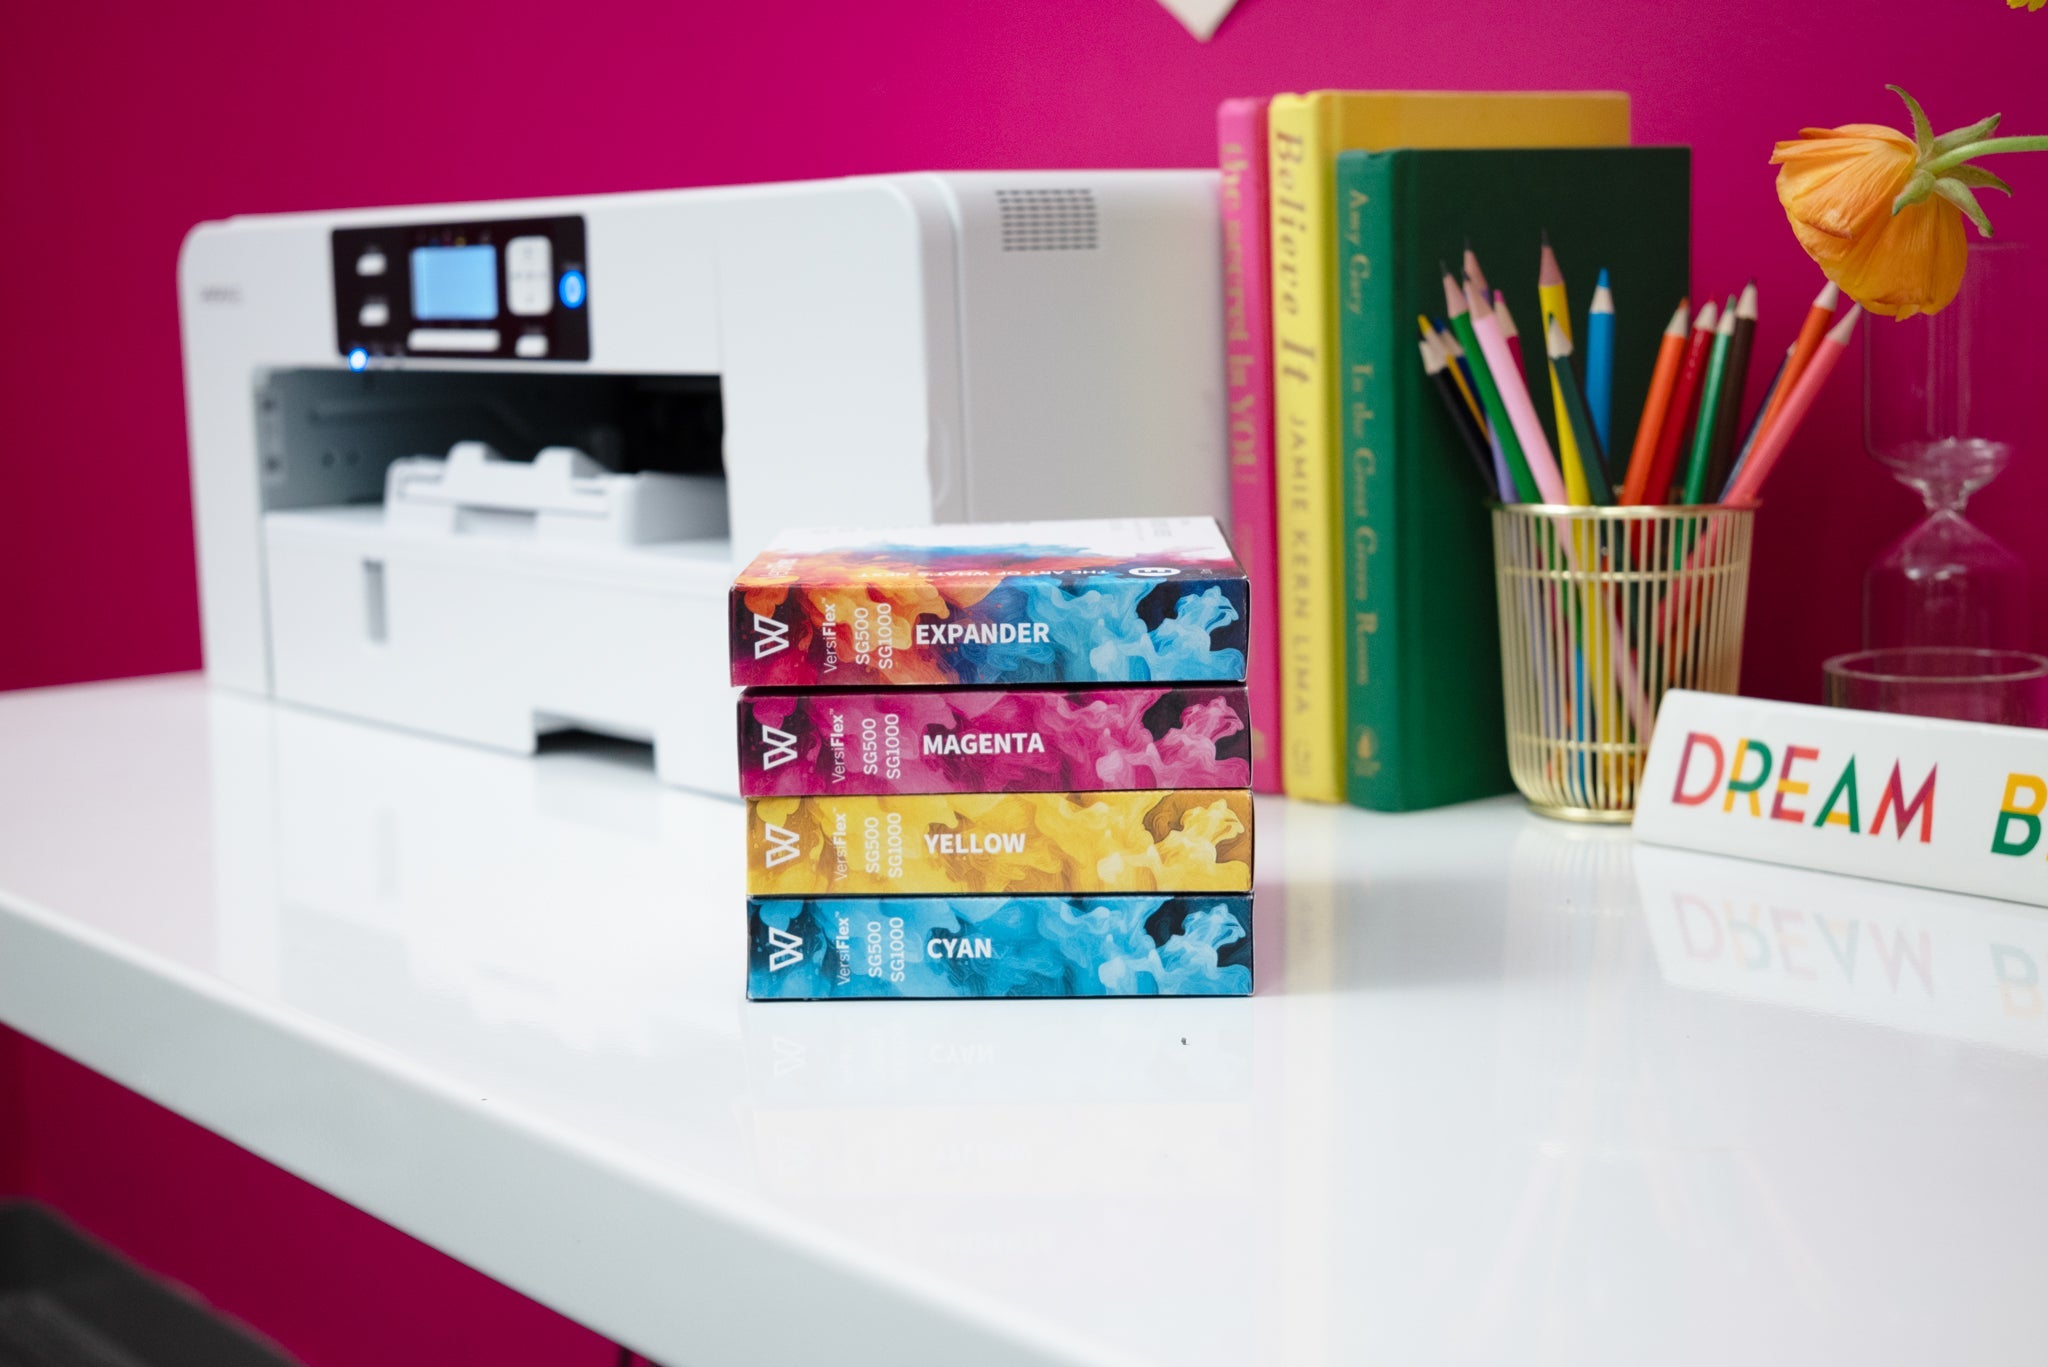
Step 2: Install the Ink Correctly
Install VersiFlex ink cartridges or tanks according to the printer instructions. Make sure each color is placed in the correct slot.
Once installed, allow the printer to complete its initial ink charging process. This step fills the ink lines and prepares the print head for use.
Do not interrupt this process, even if it takes several minutes.
Step 3: Load the Correct Paper
Load VersiFlex transfer paper into the printer tray exactly as directed, paying attention to which side is printable.
Make sure:
-
The paper is flat and not curled
-
Only one type of paper is loaded
-
The guides are snug but not tight
Incorrect paper loading is a common cause of print issues.
Step 4: Install Printer Drivers and Software
Install the correct printer drivers on your computer. This allows your design software to communicate properly with the printer.
After installation:
-
Restart your computer if prompted
-
Set the printer as the default printer
-
Confirm the printer appears online and ready
Some printers may include color management or utility software. Install these tools as recommended.
Step 5: Check Printer Settings
Before printing your first design, confirm these settings:
-
Disable any automatic ink saving or eco modes
-
Set print quality to high or best
-
Use the recommended paper type in printer preferences
These settings help deliver rich color and even ink coverage for VersiFlex transfers.
Printing Your First Test Page
Always print a test design before moving on to a real project.
A test print helps you:
-
Confirm colors are printing correctly
-
Check for streaks or missing lines
-
Verify paper feeding and alignment
If the print looks uneven, run a nozzle check or cleaning cycle as recommended by the printer manufacturer.
Maintaining Your Printer for Best Results
Good printer maintenance keeps your VersiFlex prints consistent over time.
Helpful habits include:
-
Printing at least once a week to keep ink flowing
-
Keeping the printer covered when not in use
-
Using only recommended inks and paper
-
Avoiding extreme temperatures or humidity
A well maintained printer produces better transfers and lasts longer.
Common Printer Setup Mistakes to Avoid
Mixing ink types
Never mix VersiFlex inks with sublimation or standard inks.
Using the wrong paper
Only use VersiFlex transfer paper with VersiFlex inks.
Skipping test prints
Test prints catch issues early and save materials.
Ignoring software updates
Driver updates often fix bugs and improve performance.
Tools That Support Better Printing Results
While the printer does the printing, your overall setup matters too. A quality heat press and accessories help turn good prints into great finished products.
You can explore supportive equipment in:
These tools help ensure your printed transfers press cleanly and consistently.
Final Thoughts
Setting up your printer correctly is the foundation of successful VersiFlex projects. When your printer, ink, paper, and settings work together, everything else becomes easier. Take your time during setup, test before pressing, and maintain your printer regularly.
Once your printer is dialed in, you can focus on creating confident, professional looking designs on cotton, wood, and more.
FAQ: Printer Setup for VersiFlex
Can I use a printer that previously had sublimation ink?
It is not recommended. Sawgrass recommends you use a brand new printer for VersiFlex Ink.
Do I need special software to print VersiFlex designs?
Most standard design software works, as long as printer drivers are installed correctly.
How often should I print to keep ink flowing?
At least once a week is recommended.
Leave a comment
This site is protected by hCaptcha and the hCaptcha Privacy Policy and Terms of Service apply.