VersiFlex Quick Start Guide for Beginners
If you are new to VersiFlex, getting started is simpler than you might expect. VersiFlex is a digital transfer system that lets you decorate cotton, wood, canvas, and other porous materials without pretreatment. With the right setup, basic heat press settings, and a simple workflow, you can create vibrant full color designs that look professional from the very first project.
This VersiFlex quick start guide walks you through the essentials step by step so you can feel confident before you press your first design.
What Is VersiFlex and How Does It Work
VersiFlex is a decorating system designed for materials that traditional sublimation cannot handle. Instead of dyeing into polyester, VersiFlex prints a transfer that is heat pressed onto natural surfaces like cotton fabric and unfinished wood.
The process works in three simple stages:
-
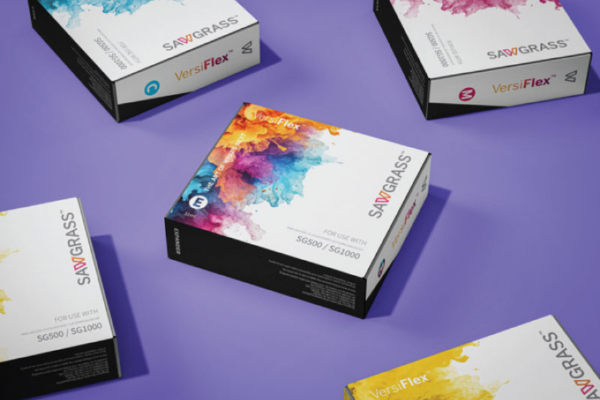
Print your design using VersiFlex inks and transfer media
-
Place the transfer on your blank
-
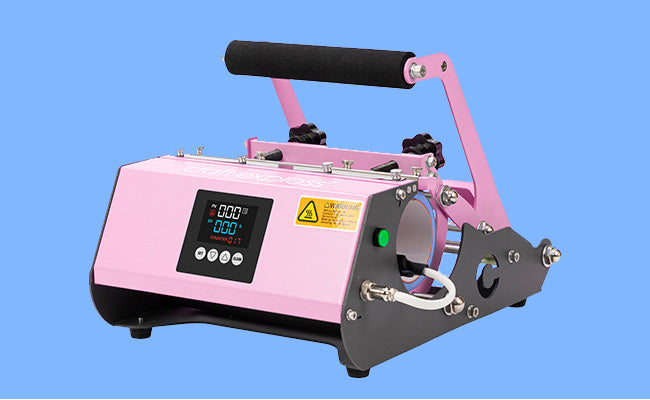
Apply heat and pressure with a heat press
Because VersiFlex sits on top of the material, pressure and temperature consistency are important. Once you understand the basics, VersiFlex becomes a flexible solution for apparel, home decor, and craft projects.
A reliable press, like those found in Craft Express heat presses, makes learning VersiFlex much easier.
What You Need to Get Started with VersiFlex
Before you begin, make sure you have the right supplies ready.
Essential VersiFlex Supplies
-
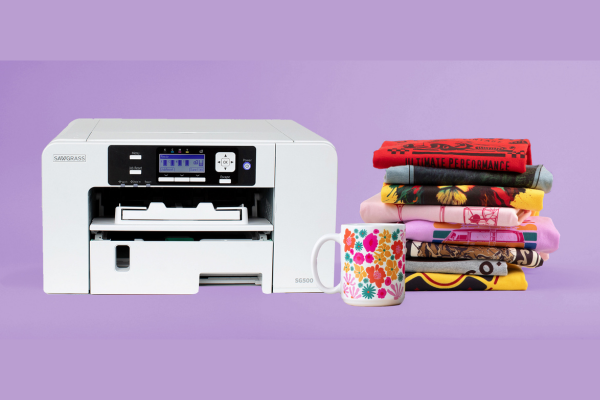
A compatible printer loaded with VersiFlex inks
-
VersiFlex transfer paper
-
A heat press
-
Blowout or protective paper
-
Heat resistant tape
Recommended Blanks
VersiFlex works best on porous materials such as:
-
Cotton and cotton blend fabrics
-
Canvas and tote bags
-
Unfinished or lightly sanded wood
Avoid glossy, coated, or heat sensitive materials until you gain more experience.
Step by Step VersiFlex Workflow
Step 1: Print Your Design
Design your artwork as you normally would. Make sure your image is mirrored before printing unless your software or system specifies otherwise.
Print your design onto VersiFlex transfer paper using the recommended printer settings. For best results, press the transfer shortly after printing while the ink is still fresh.
Step 2: Prepare Your Blank
Preparation is one of the most important steps for successful VersiFlex transfers.
For fabric:
-
Pre wash cotton garments to remove sizing and chemicals
-
Lint roll the surface
-
Pre press for 5 to 10 seconds to remove moisture and wrinkles
For wood:
-
Lightly sand the surface if needed
-
Wipe away dust
-
Make sure the wood is dry and unfinished
These small steps help the transfer adhere evenly and reduce issues during pressing.
Step 3: Position the Transfer
Place the printed transfer face down on your blank. Take your time aligning the design exactly where you want it.
Use heat resistant tape to hold the transfer in place. This prevents shifting when you close the press.
Step 4: Heat Press the Transfer
Always test your settings on scrap material first.
General starting settings (adjust as needed):
-
Temperature: about 375°F
-
Time: about 30 seconds
-
Pressure: firm to very high
Apply even pressure across the entire design. Once pressing is complete, peel the transfer hot using a smooth, steady motion.
Pressing Tips for Best Results
Use Fresh Protective Paper
Replace blowout or protective paper after each press. Reusing paper can cause unwanted ink transfer or ghosting.
Press One Layer at a Time
If you are working on dual sided apparel or layered projects, always press one area at a time and protect finished designs from additional heat.
Practice First
Different fabrics and woods react differently. Testing first helps you fine tune pressure and timing without wasting blanks.
Helpful accessories can be found in Craft Express heat press accessories and make a big difference, especially for beginners.
Best Materials for VersiFlex Projects
VersiFlex performs best on smooth, porous surfaces.
Good choices include:
-
Medium weight cotton shirts
-
Canvas tote bags
-
Pine, cedar, or similar soft woods
Materials to avoid:
-
Coated or sealed wood
-
Leather or faux leather
-
Heat sensitive synthetics
Choosing the right blank helps ensure clean edges, vibrant color, and long lasting results.
You can explore suitable options in Craft Express blanks and apparel.
Caring for VersiFlex Finished Projects
Proper care helps your designs last longer.
For fabric items:
-
Wait at least 24 hours before washing
-
Wash inside out
-
Use cold or warm water
-
Avoid bleach
-
Tumble dry low or hang dry
For wood projects:
-
Avoid moisture exposure
-
Do not scrub the surface
-
Display indoors when possible
Troubleshooting Common VersiFlex Issues
Design looks faded
Increase pressure slightly or make sure the material is fully pre pressed.
Edges did not adhere
Check alignment, pressure consistency, and confirm the surface is flat.
Ghosting or marks
Use fresh blowout paper and avoid moving the project while hot.
Most issues can be corrected with small adjustments and practice.
Final Thoughts
VersiFlex is a powerful decorating option once you understand the basics. By starting with the right materials, using consistent heat press settings, and practicing on test pieces, you can create professional looking projects on cotton, wood, and canvas without pretreatment.
Take your time, follow the steps, and enjoy the learning process. VersiFlex is flexible, forgiving, and opens the door to a wide range of creative projects.
FAQ: VersiFlex Quick Start
Do I need pretreatment for cotton?
No. VersiFlex is designed to work on cotton without pretreatment.
Can I use VersiFlex on dark fabrics?
Yes, with appropriate transfer methods designed for darker surfaces.
Should I press immediately after printing?
Yes. Pressing soon after printing gives the best color and adhesion.
Is VersiFlex beginner friendly?
Yes. With a quality heat press and basic preparation, beginners can achieve great results quickly.

Leave a comment
This site is protected by hCaptcha and the hCaptcha Privacy Policy and Terms of Service apply.